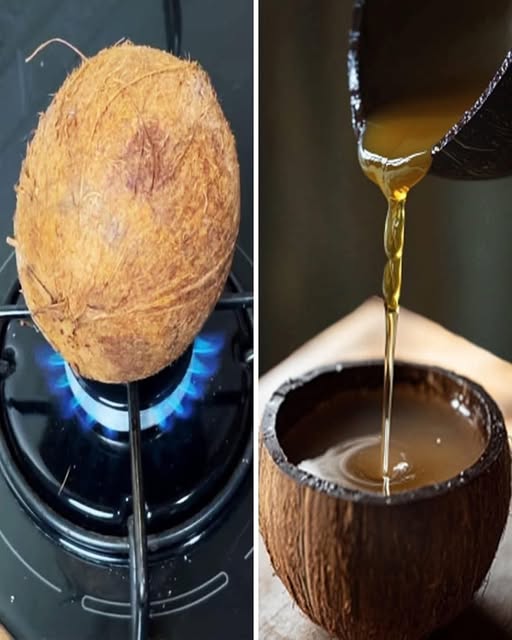
Making coconut oil at home is a simple yet rewarding process that gives you a pure, high-quality product. By following a few easy steps, you can create your own natural coconut oil without relying on commercial brands. Whether you’re using it for cooking, skincare, or haircare, homemade coconut oil ensures the best quality with no additives or preservatives. Below is a step-by-step guide to making coconut oil, along with some handy tips to ensure a successful extraction.
Start by cracking open the mature coconuts. You can use a hammer or the back of a heavy knife to tap the shell until it breaks. Drain the coconut water into a container for other uses or consumption.
Next, carefully separate the white coconut meat from the shell using a knife or coconut scraper. Rinse the meat with water to remove any remaining shell debris.
Step 2: Blending the Coconut Meat
Cut the coconut meat into small chunks for easier blending. Place the pieces into a blender or food processor, adding some water to help extract the coconut milk. The recommended ratio is 2 cups of coconut meat to 1 cup of water.
Blend until the coconut turns into a thick, creamy paste. You may need to stop and scrape down the sides to ensure everything blends smoothly.
Step 3: Extracting the Coconut Milk
Place a fine cheesecloth or strainer over a large bowl and pour the blended coconut mixture into it. Squeeze out as much liquid as possible to extract the coconut milk. The more liquid you extract, the more oil you’ll get later.
Repeat this process with any remaining coconut pieces, ensuring you gather every drop of coconut milk.
Step 4: Separating the Oil
Let the bowl of coconut milk sit at room temperature for 24 hours. During this time, the oil will naturally begin to separate from the liquid. You’ll notice a creamy layer forming at the top.
After 24 hours, refrigerate the mixture for a few hours to solidify the cream. Once hardened, scoop the cream out, leaving the water behind. This water can be discarded or repurposed.